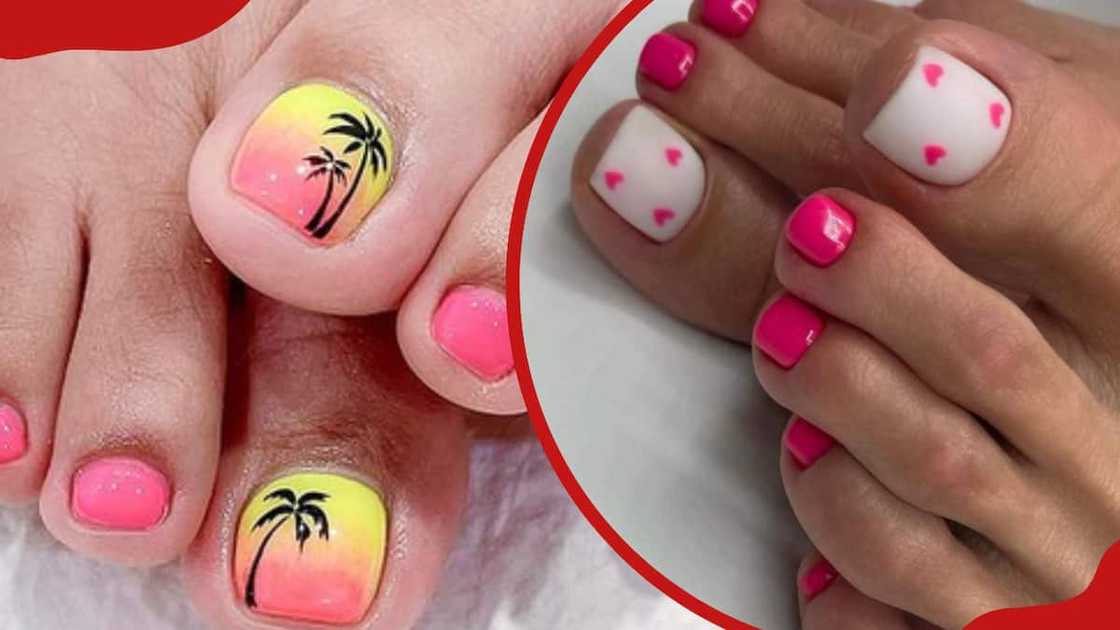




When most people think of nail stickers, they picture them on fingernails. But here’s a little secret: nail stickers work just as beautifully—and often even better—on toes. Whether you’re heading to the beach, preparing for a vacation, or simply want to add a splash of personality to your pedicure without the fuss of traditional polish, toe nail stickers are a game-changer.
Here’s everything you need to know about using nail stickers on your feet, from application to longevity.
Yes, Nail Stickers Absolutely Work on Toes
Nail stickers—also called nail wraps or decals—are designed to adhere to both fingernails and toenails. In fact, many brands now offer dedicated pedicure gel nail sticker sets with sizes specifically shaped for wider toe nail beds. Toenails are generally less prone to daily damage than fingernails, which means stickers actually tend to last longer on toes than on fingers.
How to Apply Nail Stickers to Your Toes
The secret to a flawless, long-lasting application lies in the preparation. Skipping this step is the number one reason stickers peel or lift prematurely.
Step 1: Prep Your Toes Thoroughly
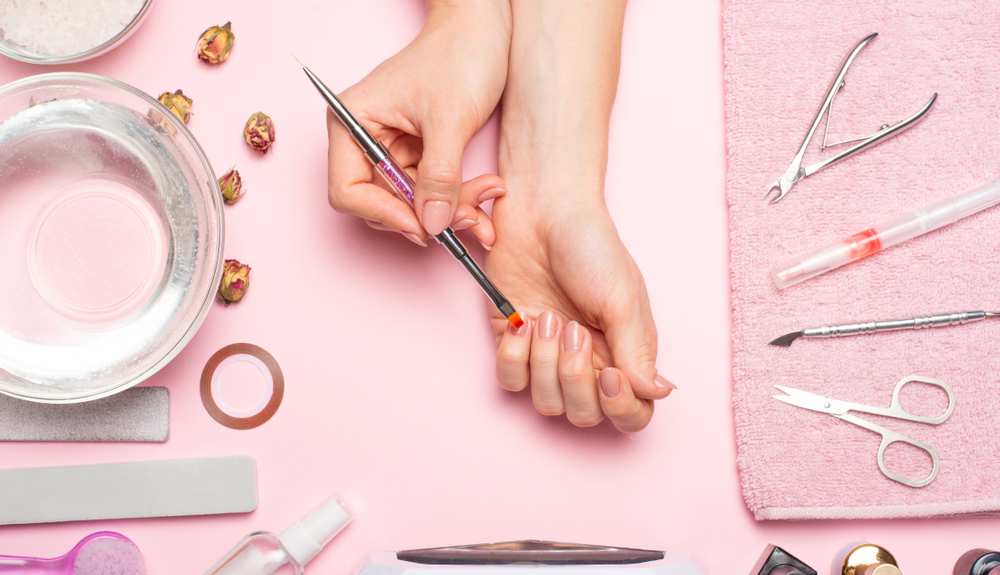
Start with clean, dry feet. Remove any existing polish completely, then wash your feet with soap and water to remove dirt, oil, and lotion. Gently push back your cuticles using a cuticle pusher—this creates a clean, smooth surface for the sticker to adhere to. Avoid cutting your cuticles, as this can increase the risk of infection.
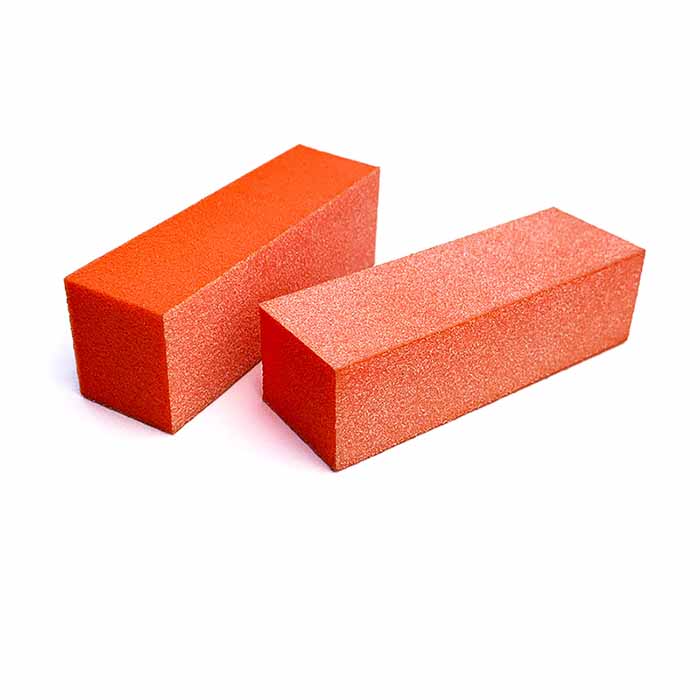
Lightly buff the surface of each toe nail with a fine-grit buffing block to create a slightly rough texture that promotes better adhesion. Then, wipe each nail with rubbing alcohol or a nail cleanser to remove any remaining oils and moisture. This step is crucial: oils are the enemy of adhesion. Do not apply any lotions or oils after cleaning.
Step 2: Choose the Right Size
Hold the sticker sheet over your toenail and select the sticker that fits best. The sticker should cover the nail without overlapping onto the skin. When in doubt, choose a sticker slightly narrower than your toenail to prevent premature lifting. If the sticker is too wide, trim the sides to achieve a perfect fit.
Step 3: Apply and Press
Peel the sticker carefully from the backing sheet, avoiding touching the adhesive side as much as possible. Align the sticker with the base of your nail, leaving a small gap (about 1 mm) between the sticker and your cuticle. This gap prevents lifting as your nail grows.
Press the sticker down firmly from the center outward. Use a wooden stick or rubber cuticle pusher to smooth out any wrinkles or bubbles. Pay extra attention to the edges—smoothing them firmly is essential for preventing peeling.
Step 4: Trim and File
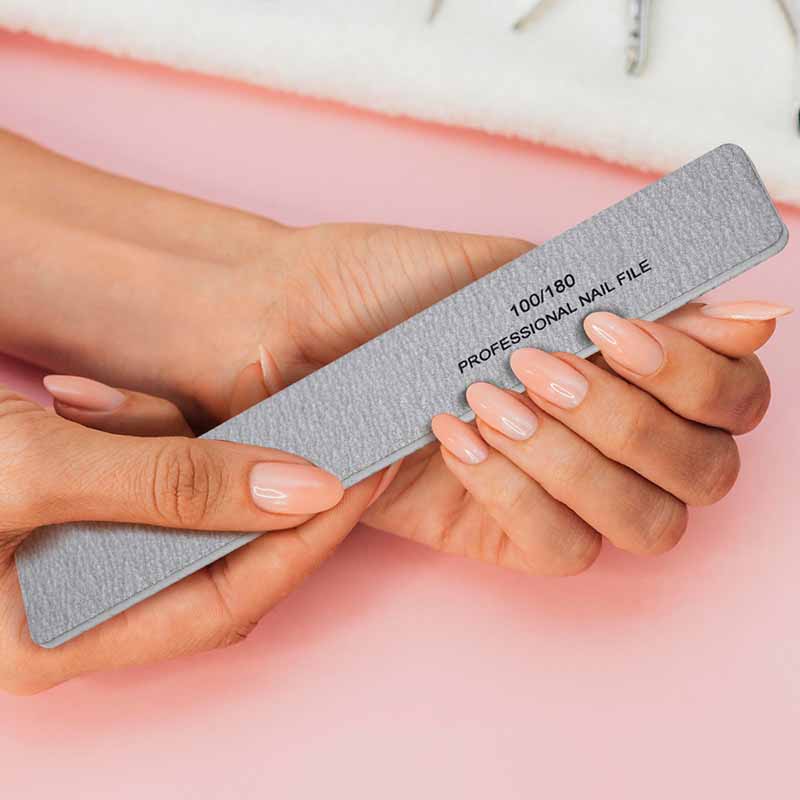
Fold the excess sticker over the edge of your nail. Trim the excess using small nail scissors or clippers, cutting as close to the edge of your nail as possible. Then, file the edge of the sticker in a downward motion using a nail file. This creates a smooth, seamless edge and prevents the sticker from snagging.
Step 5: Seal with a Top Coat
This is the step that separates a three-day manicure from a three-week one. Apply one or two thin coats of a high-quality top coat over the entire nail. A top coat adds shine, protects the sticker from water and friction, and dramatically extends its lifespan. For gel-style stickers, cure under an LED lamp according to the manufacturer’s instructions—typically around 120 seconds.
Step 6: Avoid Water for One Hour
After application, avoid water, lotion, or oil for at least one hour to allow the adhesive to fully set.
The Benefits of Using Nail Stickers on Toes
Why choose stickers over traditional polish for your pedicure? The advantages are compelling.
Instant results with zero drying time. There’s no smudging, no waiting around for polish to dry, and no ruined pedicure because you put on socks too soon.
Exceptional durability. On toenails, gel nail stickers often last 3 to 4 weeks—significantly longer than traditional nail polish. They’re waterproof and chip-resistant, maintaining their appearance through swimming, showering, and daily activities.
Beginner-friendly application. You don’t need a steady hand or artistic skill. The application process is remarkably straightforward and requires no special tools. A complete set can be applied in less than 10 minutes.
Endless design variety. From classic solid colors to intricate patterns, nail stickers cater to every style preference. You can change your look as often as you like without committing to a single color for weeks.
Gentle on natural nails. High-quality stickers are made from flexible, breathable materials that allow natural nail health to be maintained underneath. Removal requires no harsh chemicals or excessive scraping that might damage natural nails.
Travel-friendly. Nail stickers take up minimal space and eliminate concerns about liquid spills in luggage.
How to Extend the Life of Your Toe Nail Stickers
With proper care, your toe nail stickers can stay flawless for weeks. Here’s how to make them last.
Prep properly. Thorough cleaning, buffing, and dehydration are non-negotiable. Any oil or moisture left on the nail will cause premature lifting.
Choose the right size. A sticker that’s too wide will overlap onto skin and lift; one that’s too small will leave edges exposed. When in doubt, size down slightly and trim to fit.
Press edges firmly. The edges are where lifting starts. Use a wooden stick to roll over the edges and ensure they’re securely adhered.
Always use a top coat. A quality top coat adds an extra protective layer and prevents water from seeping under the sticker edges. Reapply every few days to refresh the shine and seal.
Avoid prolonged water exposure immediately after application. Give the adhesive at least an hour to set before showering or swimming.
Wear protective footwear when appropriate. If you’re gardening, cleaning, or doing activities that might snag your toes, closed-toe shoes offer extra protection.
Moisturize, but strategically. While you should avoid oil before application, daily cuticle oil after the stickers are fully set keeps the surrounding skin healthy and flexible.
Remove gently. When it’s time for removal, soak your nails in warm water for a few minutes, then gently lift the sticker with a wooden stick starting from the base of the nail. Apply cuticle oil along the edges to help loosen the sticker. Never peel aggressively—this can damage the natural nail.
The Bottom Line
Nail stickers are not just for fingers. They offer a fast, durable, and stylish solution for beautiful toes without the mess, drying time, or skill required for traditional polish. With proper preparation, careful application, and a good top coat, your toe stickers can stay flawless for three to four weeks—giving you salon-quality pedicure results from the comfort of your own home.
Have you tried nail stickers on your toes? What designs are your favorite? Share your experience in the comments—I’d love to hear what works for you.
Read also: Quality Nail Supplies: Why They Matter and How to Choose Them